Zapier is a powerful automation platform that helps you automatically send pop-up data from other applications directly to Poptics, eliminating manual work and ensuring smooth data transfer.
Steps to Integrate Zapier with Poptics
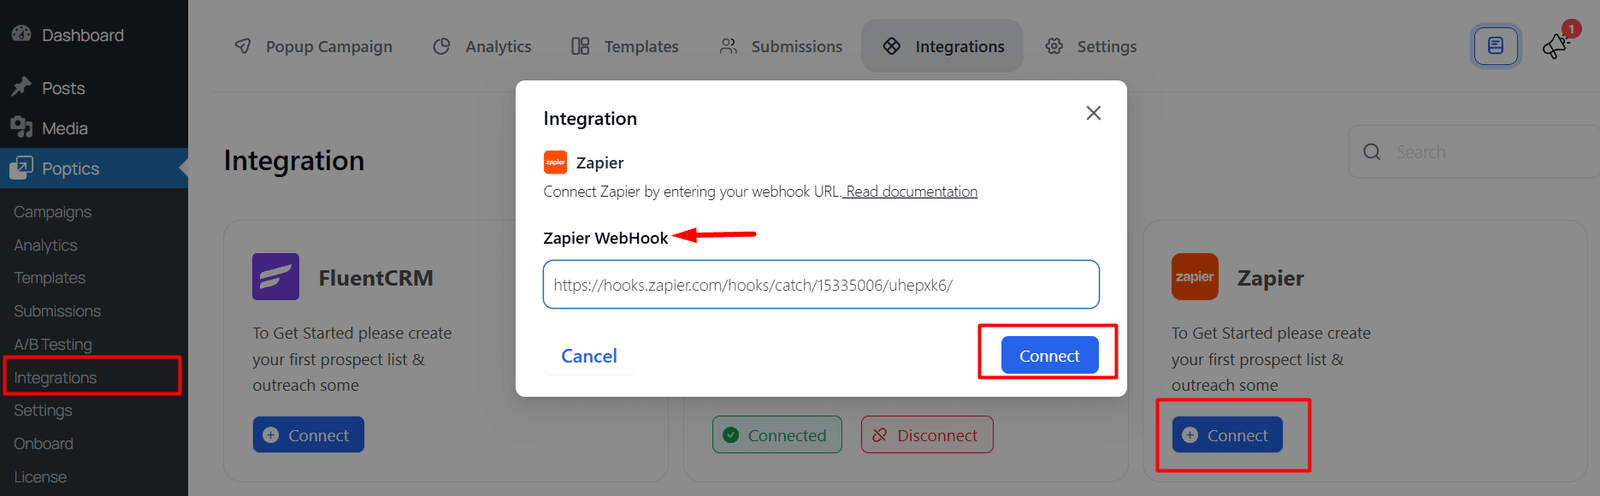
- Go to Poptics → Integration page.
- Select Zapier and click on the Connect button.
- Copy the Zapier Webhook URL provided.
- Paste this Webhook URL in Zapier when creating a new Zap trigger.
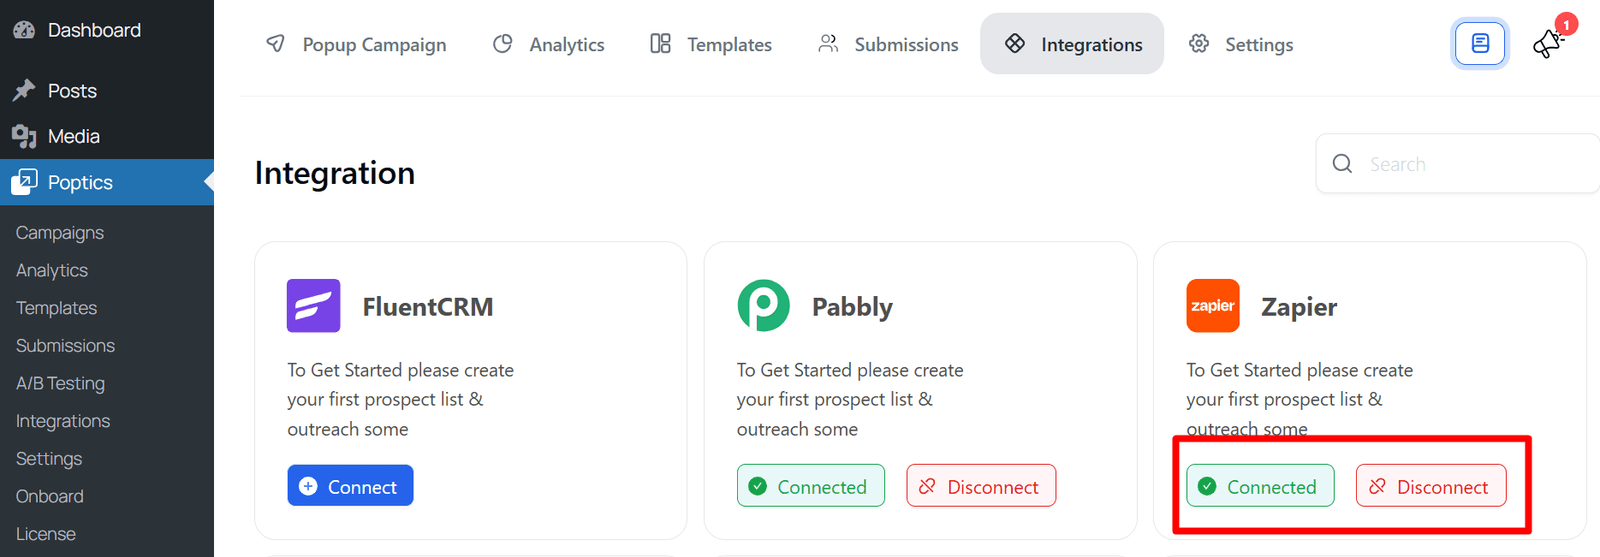
- Click Connect to successfully link Poptics with Zapier.
How to Get a Webhook in Zapier
- Log in to Zapier.
- Click on Create Zap.
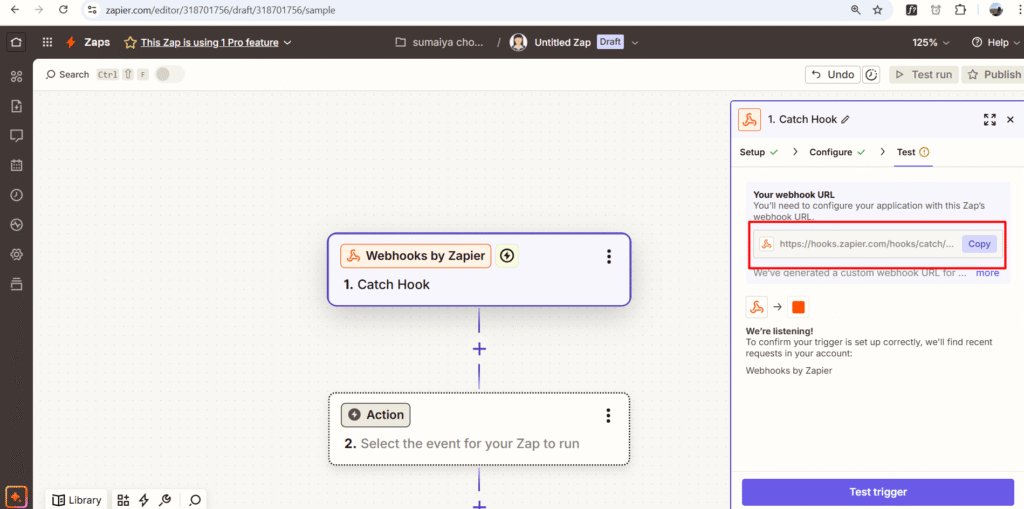
- For the Trigger App, choose Webhooks by Zapier.
- Select Catch Hook.
- Copy the Custom Webhook URL shown.
- Paste this Webhook URL in Poptics → Integrations → Zapier.
Connect Zapier to a Campaign
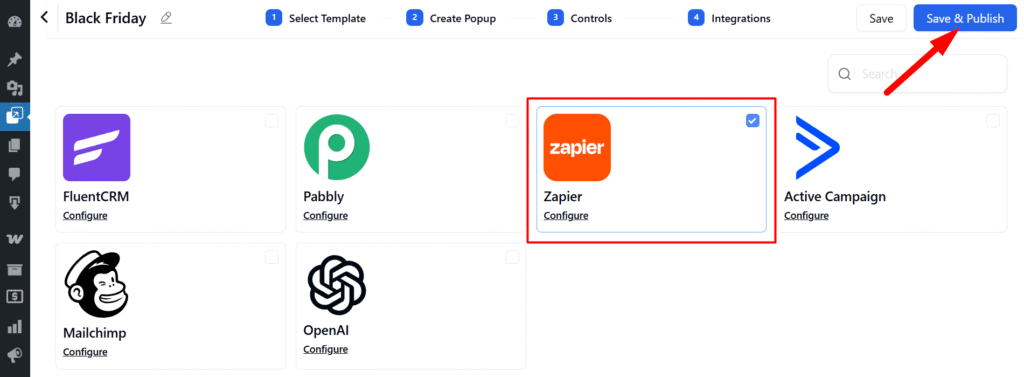
- After successfully connecting Zapier, navigate to your campaign.
- Create a new campaign or select an existing one.
- Choose Zapier as the integration option to connect it to your campaign.
FAQs
Q1: Do I need a Zapier account?
A: Yes, to generate webhooks and create Zaps.
Q2: Connection failed – what should I do?
A: Ensure the Webhook URL is correctly copied and there are no extra spaces.
Q3: Can one webhook be used for multiple integrations?
A: It’s recommended to create separate webhooks for each integration to avoid conflicts.
Conclusion
Integrating Zapier with Poptics allows you to automate tasks efficiently, saving time and reducing manual work. Once the webhook is connected, you can create powerful workflows to sync data and trigger actions seamlessly between Poptics and other applications, improving productivity and streamlining your business processes.