A Lightbox popup is a center-screen popup that dims the background to grab the visitor’s attention. It helps increase conversions because the user’s focus goes entirely to the popup. With a lightbox, you can easily boost leads, subscribers, or sales.
How to Create a Lightbox Popup
Steps:
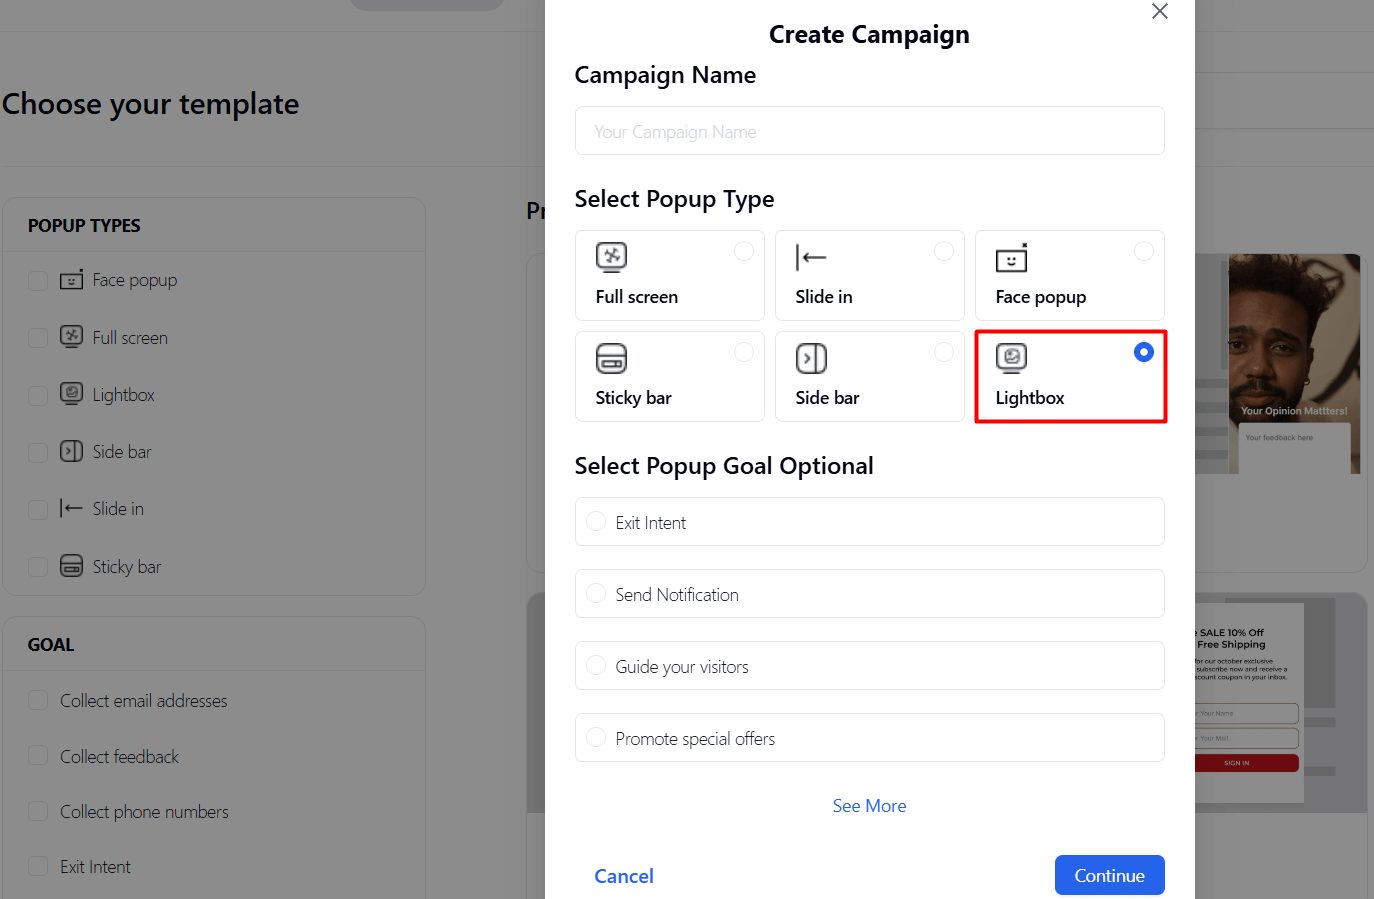
- Create Campaign – From the Campaigns page, click Create Campaign.
- Select Type – Enter the Campaign name, choose your Goal, and select Lightbox as the type.
- Customize Design – Use the builder to customize the popup with text, images, buttons, and forms.
- Set Controls – In Display Controls, configure Placement, Audience, Visibility, Frequency, Schedule, and Auto-response.
- Add Integrations (Optional) – Connect with email, CRM, or other tools if needed.
- Save & Publish – Once done, click Save and Publish to make your Lightbox campaign live.

👉 For full step-by-step instructions, check the official doc: How to Create a Campaign in Poptics