If you’re currently using the free version of Poptics and want to unlock even more powerful features with the Pro version, upgrading is quick and easy! The best part? All your existing settings and popups will remain intact, so you won’t have to redo anything. Just follow the steps below to get started.
Step 1: Download the Pro Version
After purchasing Poptics Pro, you’ll have access to the Pro version’s installation file.
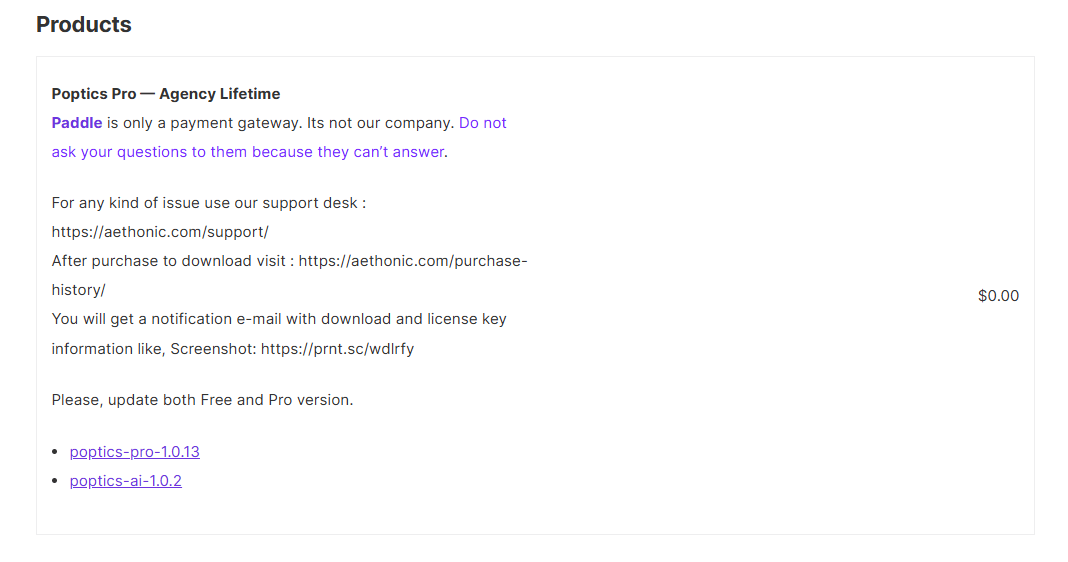
- Go to aethonic.com/purchase-history.
- Log in with the credentials you received via email after your purchase.
- In the Pro Downloads section, click on Download to get the Pro version zip file.

Step 2: Upload and Install the Pro Version
Now that you have the Pro version zip file, it’s time to install it on your WordPress site.
- In your WordPress dashboard, navigate to Plugins > Add New.
- Click on the Upload Plugin button at the top of the screen.
- Select the Poptics Pro zip file you just downloaded and click Install Now.
- After the installation is complete, click Activate Plugin to enable the Pro version.
Note: There’s no need to uninstall the free version of Poptics. Just install the Pro version over the top, and all your settings will be preserved.
Step 3: Activate Your License
Once you’ve installed and activated Poptics Pro, you’ll need to activate your license to access automatic updates and premium support.
- Go to Poptics > Settings > License in your WordPress dashboard.
- Enter your license key (you can find it in the purchase confirmation email).
- Click Activate License.
For more detailed instructions on managing your license keys, check out our License Activation Guide.