Poptics is a powerful WordPress plugin that allows you to create various types of popups, such as Fullscreen, Slide-In, Face Popup, Sticky Bar, Sidebar, and Lightbox campaigns. These popups can help you capture leads, promote offers, and enhance user engagement on your website.
Note: Ensure that the Poptics plugin is installed and activated on your WordPress site. If you’re using the Pro version, remember to activate your license to access premium features.
Step-by-Step Campaign Creation
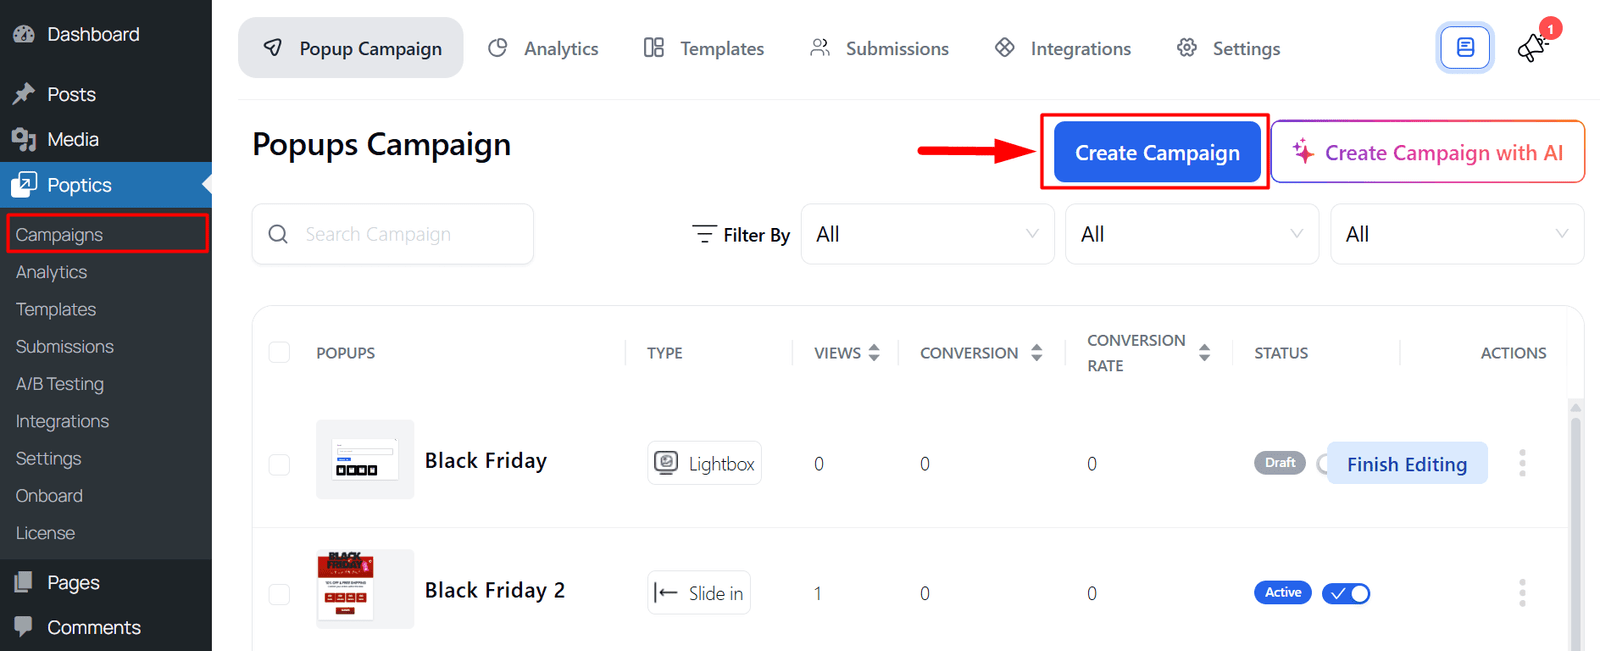
- Access the Poptics Dashboard: After activating the plugin, navigate to the Poptics section in your WordPress dashboard.
- Create a New Campaign: Click on the “Create Campaign” button to start the creation process.
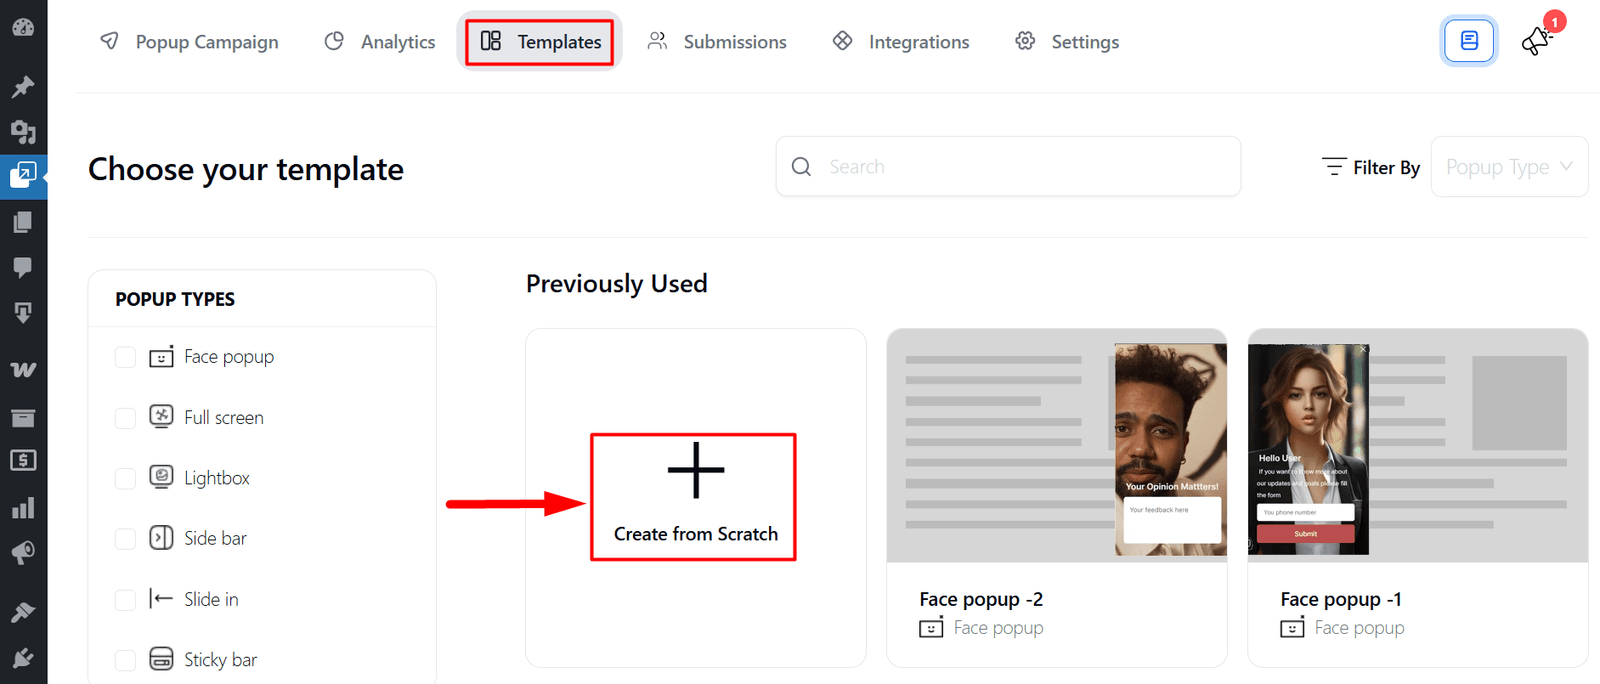
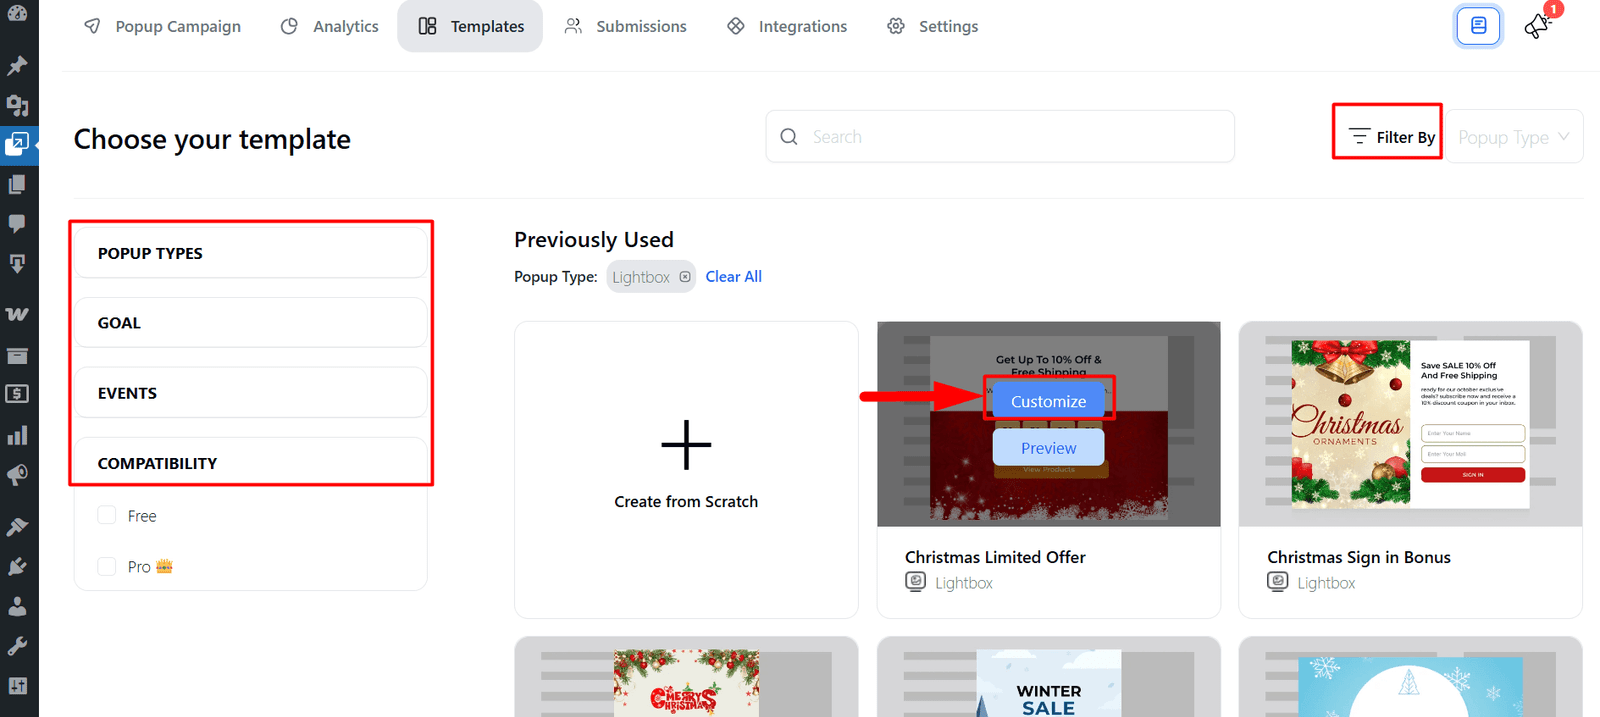
- Select a Template or Start from Scratch:
- Templates: Choose from a variety of pre-designed templates that you can customize.
- From Scratch: Select this option to build your popup from the ground up.
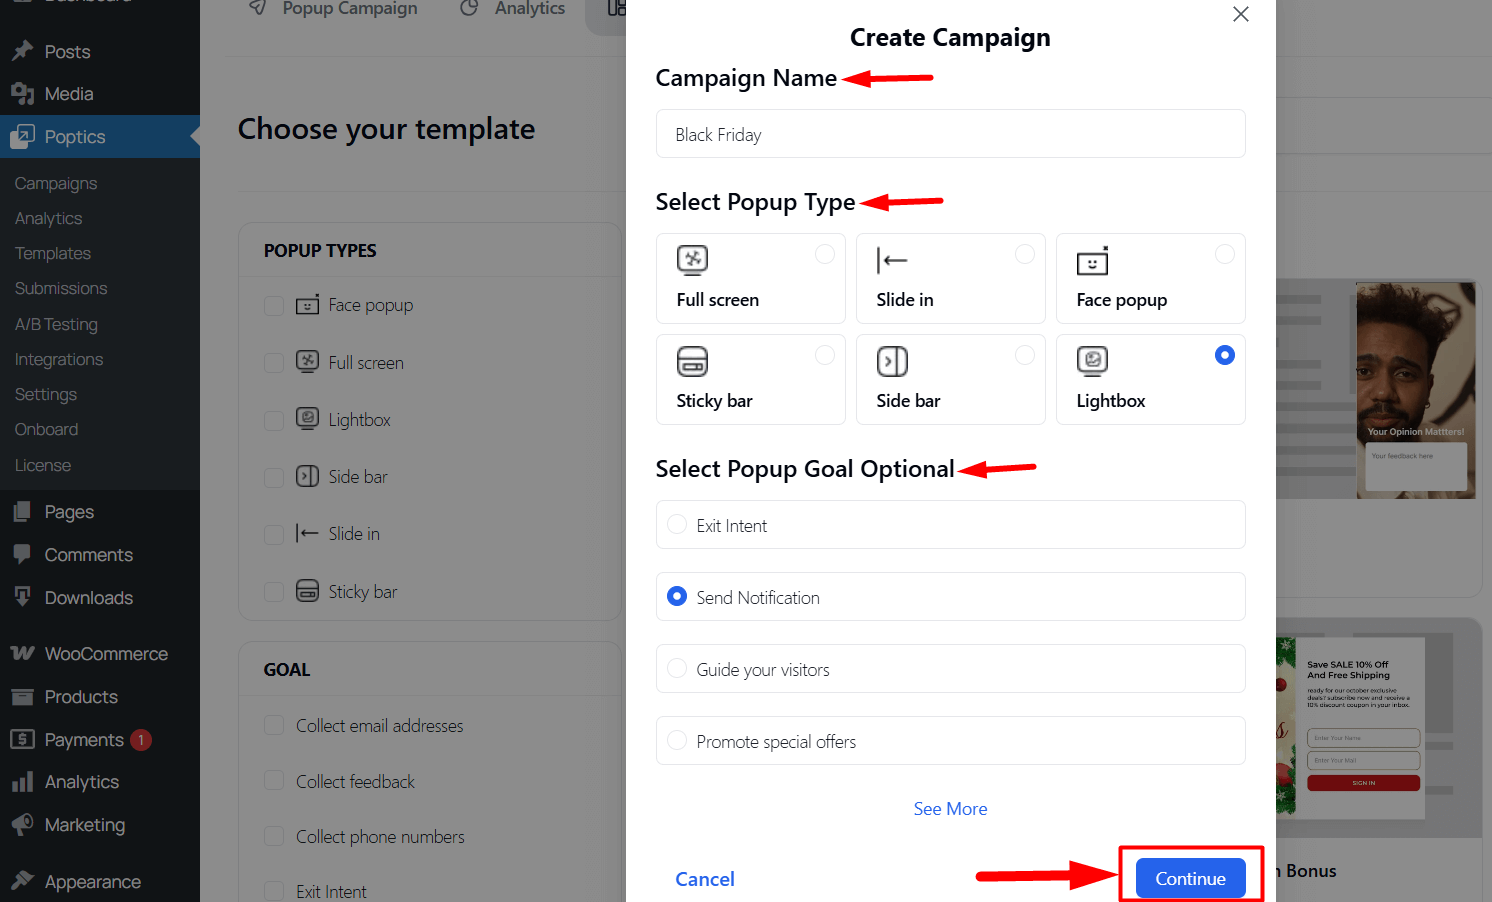
- Configure Campaign Settings:
- Campaign Name: Give your campaign a descriptive name.
- Campaign Goal: Select the primary objective of your campaign.
- Popup Type: Choose the type: Fullscreen, Slide-In, Face Popup, Sticky Bar, Sidebar, Lightbox of the popup you want to create.
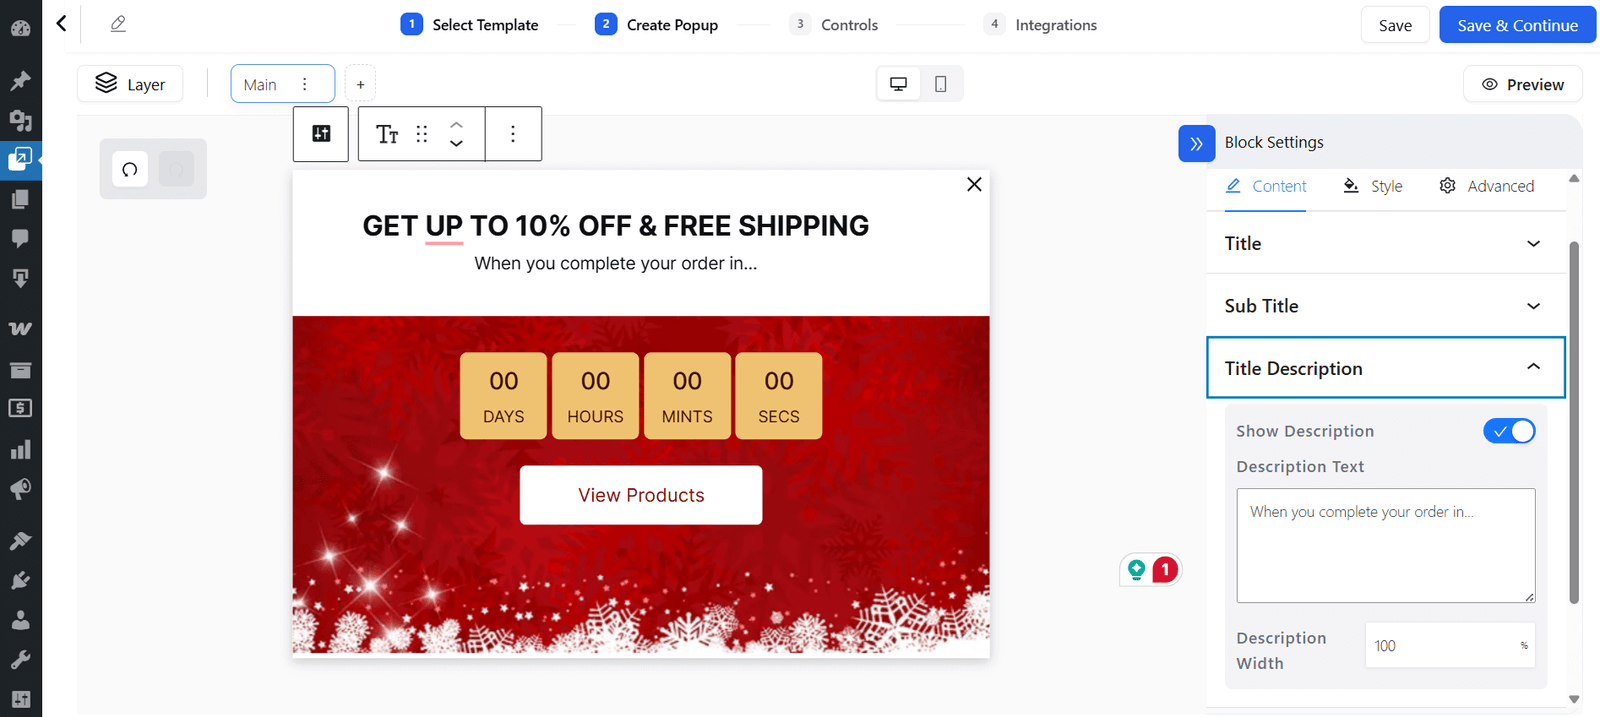
- Design Your Popup:
- Content: Add text, images, videos, or forms to your popup.
- Styling: Customize fonts, colors, and animations to match your website’s theme.
- Set Display Controls:
- Decide where and when your popup appears, who sees it, how often it shows, and manage all settings through Popup Placement | Audience & Targeting | Visibility | Frequency | Schedule | Auto-Response Email | E-commerce Conditions.

- Integrate with Other Tools (Optional):
- Connect your popup with FluentCRM | Pabbly | Zapier | ActiveCampaign | Mailchimp | OpenAI for email marketing services, CRMs, or other tools to enhance functionality.
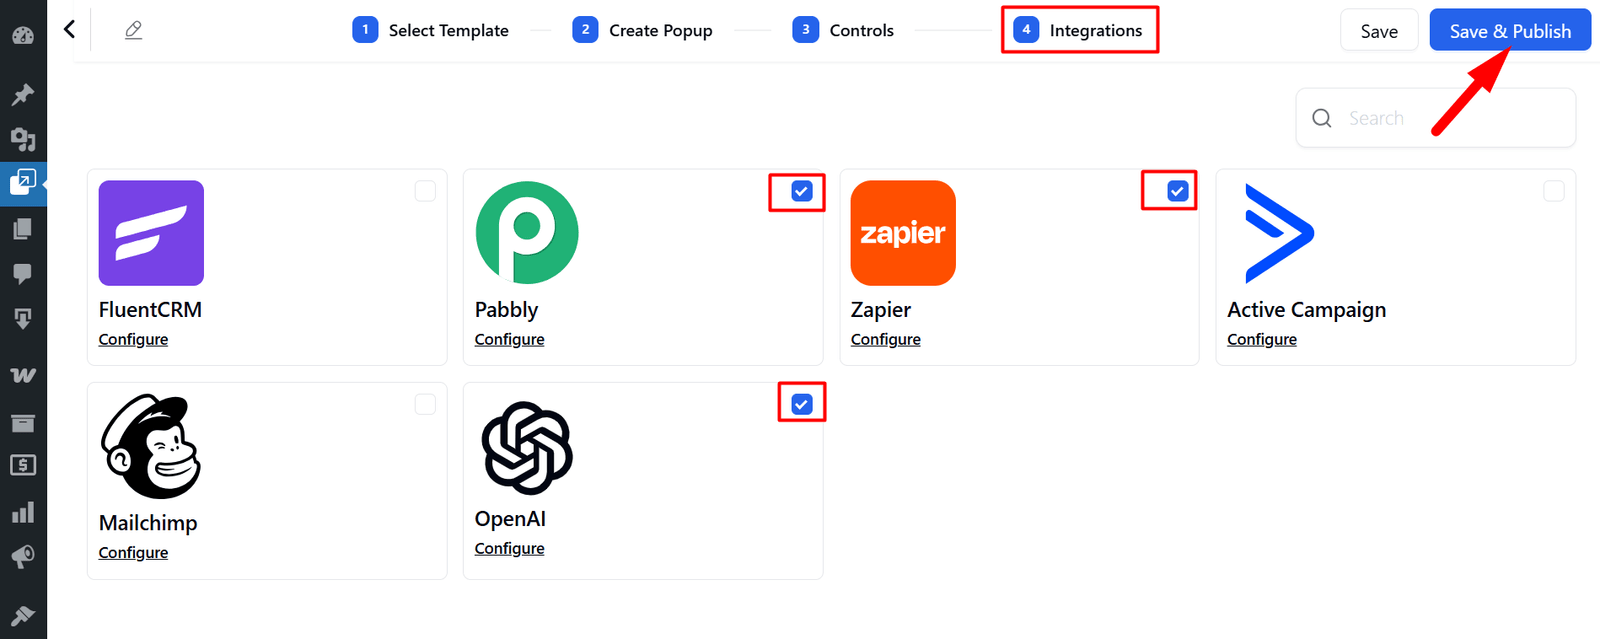
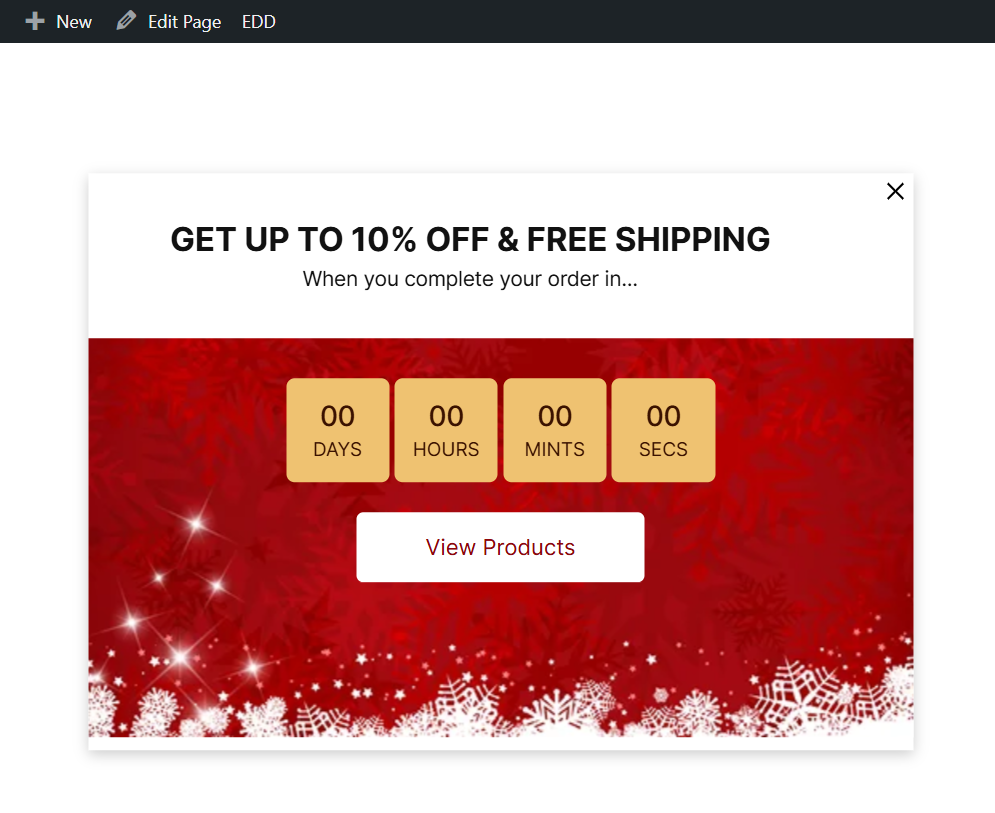
- Preview and Publish:
- Review your popup to ensure it looks and functions as expected.
- Click “Publish” to make your campaign live on your website.
- Your campaign will appear in the Campaign List, where you can activate, pause, or deactivate it.
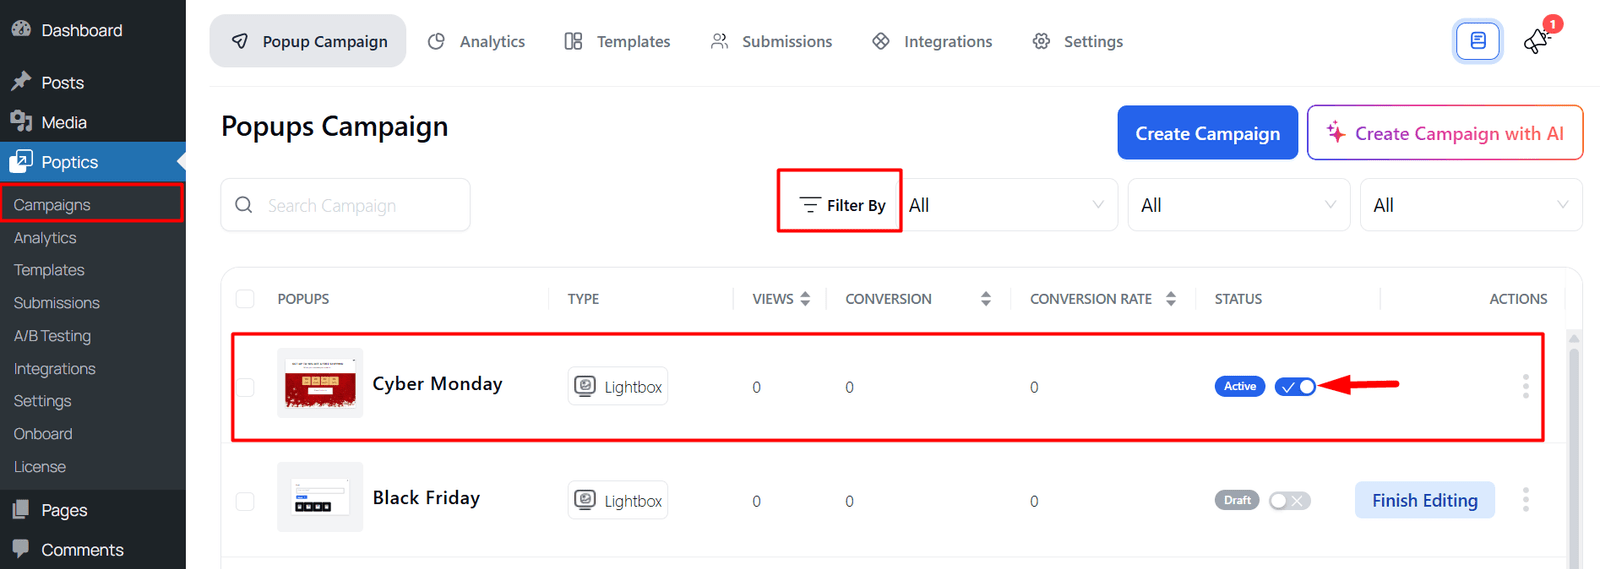
🎉 Hooray! Your campaign is live! Your popup is ready to engage visitors, capture leads, boost sales, and share your important messages.
Conclusion
Creating a campaign in Poptics is straightforward and doesn’t require any coding skills. By following these steps, you can design and deploy effective popups that align with your campaign goals. For more detailed information and advanced features, refer to the official Poptics documentation.